Deliciously Soft Bread Rolls Stuffed with Vegetables
I just love stuffed buns. To me, they are a mystery
that only the first bite can resolve. Looking at one, you can never guess what
secret is stuffed in them. They look just like any other bun but one bite
changes it all. I simply love the mystery of taste that a stuffed bun presents.
Not to mention, they are healthy and make up the perfect breakfast or snack.
I like making bread. It’s one of the few recipe
techniques that I can modestly admit to know. Oh well, modestly be dashed, I’m
good at making very few things, so might as well shout from the rooftops when I
master one. So yes, I am good with bread and bread-ly things and so you will
find me making a lot of those here.
Understanding Yeast-
Yeast is the magical ingredient that makes your
dough rise and turns it into bread.
The secret to break making is to know your yeast
and to develop a relationship with it. There are two types of Yeast commonly
available. The Active Dry Yeast, which needs to be dissolved in water for a few
minutes before mixing with the flour and the Instant Yeast, which can be
directly added to the dry ingredients. In my recipe I have used Active Dry
Yeast. You can easily substitute it with Instant Yeast, just reduce the amount
of yeast used by about 20% and add more water to mix the dough. I personally am
partial towards the Active Dry yeast as it always gives me a good result, you can
however go with whatever you have in your cupboard. Remember that Yeast is a
living organism and with time and exposure to air, it can go bad. Store your
Yeast in air-tight containers and in a moisture-free environment and they will
last longer.
So now that you know all you need to know about
yeast, let’s get down to the recipe. I have made a simple vegetable stuffing
here but you can stuff a bun with almost anything under the sun. You can make
it sweet or savoury, veggie or stuffed with meat.
What you need:
All-purpose Flour – 2 cups
Yeast – 1 tsp
Sugar – 1 tsp
Salt – ½ tsp
Warm Milk – ¼ cup
Melted Butter – 2 tblsp
Oil – a bit
Water – As needed
Egg – 1 (optional)
For the Stuffing
Mixed Vegetables – 1 Cup (Potatoes, Carrot, Beans,
Peas)
Capsicum/Bell Pepper – ¼ cup
Tomato – 1 small
Onions – 1 small
Green Chillies – 3-4
Cilantro / Coriander leaves – few sprigs
Ginger-Garlic paste – 1 tsp
Turmeric, Chilly, Coriander Powder – ¼ tsp each
Cumin Powder – a pinch
Salt as needed
How we do it:
Line a cookie sheet with aluminium foil/parchment
paper and grease it with a little oil.
Take half a cup of lukewarm water and dissolve the
sugar in it. Add the yeast and stir till mixed. Leave it for 10 minutes. The
yeast water will get all frothy. If your yeast does not get frothy it means
that either the yeast has gone bad or the water temperature was too high and it
killed the yeast.
 |
| Frothy yeast |
Mix the flour and salt in a kneading bowl. Add the
yeast water and milk and knead it till a rough dough is formed. Now add the
butter and keep kneading until the dough becomes soft and elastic.
A little science lesson here- Kneading stretches
the dough and forms gluten which is this springy thingy that makes those
pockets of air in your bread, making it soft. So the more you knead, the softer
your bread will be.
Coat the dough and the inside of a bowl with a bit
of oil and cover with a cling film/moist towel and let it rest for about an
hour. The bowl can be the same that you used to knead the flour. The dough will
rise and become double its original size, the bowl should be big enough to
accommodate that.
 |
| Before |
|
 |
| After the doug has risen to double |
|
A little trick that I employ to ensure my dough rises fast is to keep the bowl in a microwave (I use a micro-safe kneading bowl) and zap it for just 10 seconds. Leave it in the microwave itself (ensuring it’s switched off) and leave it to rise.
Another option is to turn on your oven for a few minutes till it is just warm. Turn it off and keep the dough bowl in it for the rising period.
| |
The extra warmth will make the dough rise faster.
While the dough is rising prepare your stuffing
(recipe below).
Once the dough has risen to almost double the
original size, punch a few holes in it and knead it again for a few minutes.
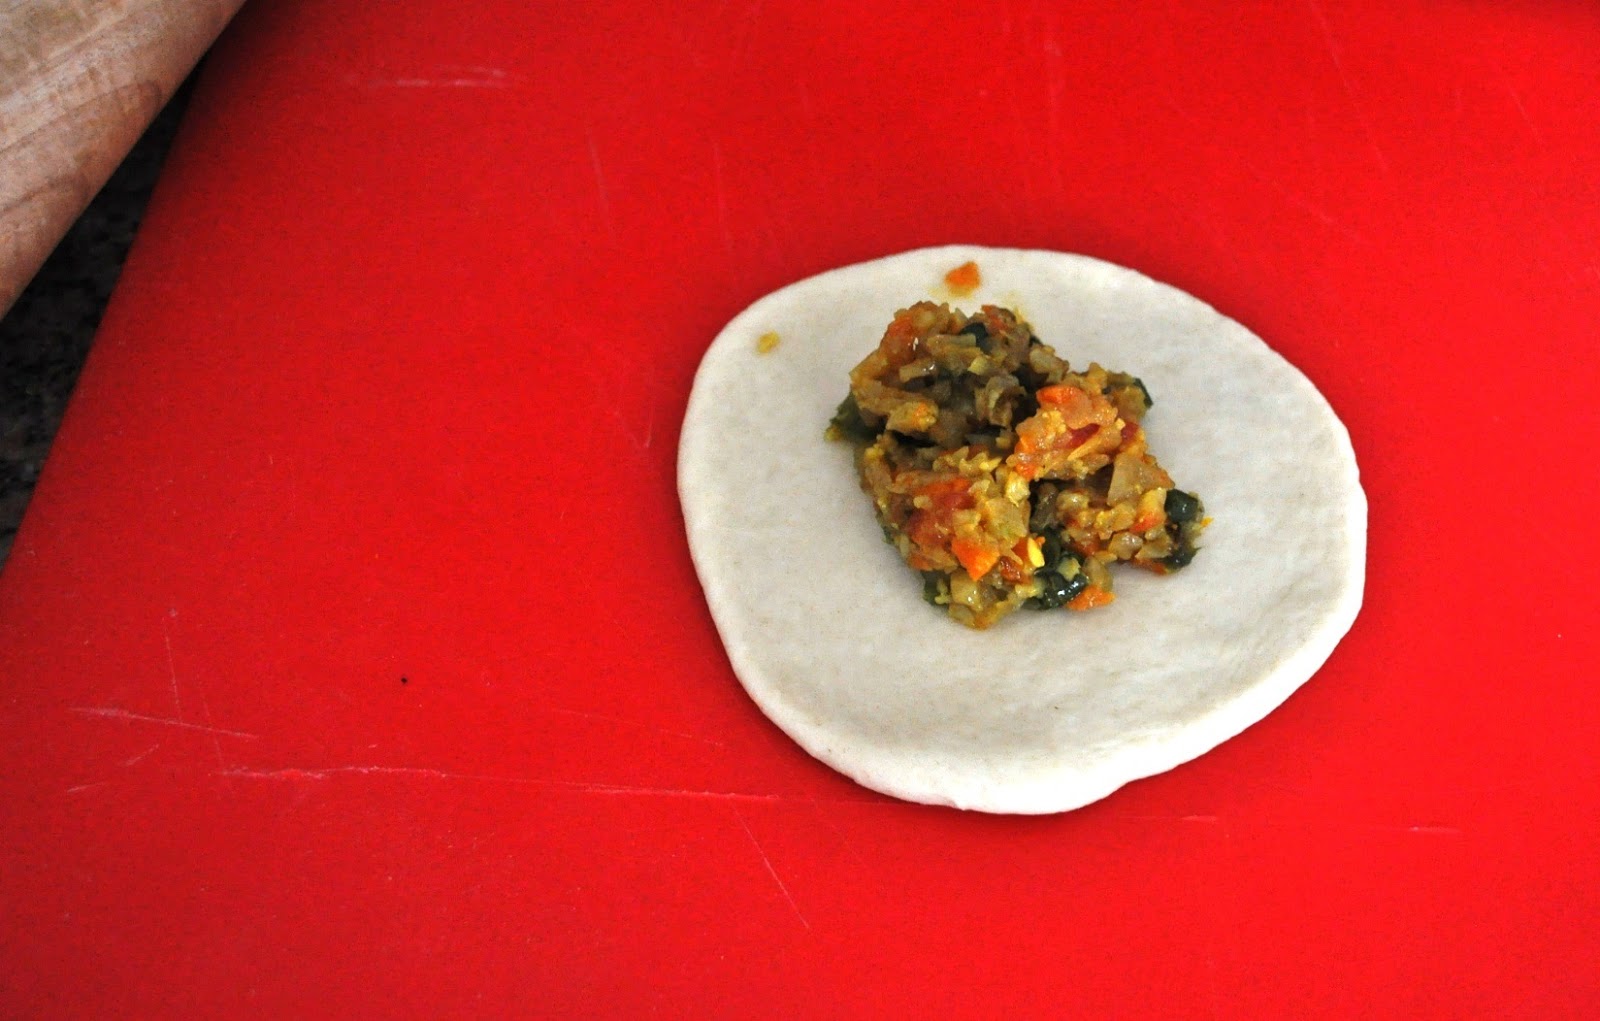
Make equal sized small balls and roll out each ball. Put a spoonful of the
stuffing into each and pinch the ends to form a ball shape.
Place the bun
pinched side down on the greased baking tray. Do it for the rest of the dough.
Do not place the balls too close to each other on the sheet. Cover with a cling
film and keep for another 45 minutes.
In the meantime prepare an Egg Wash, which is just
a well beaten egg. Alternatively you can also use milk. Preheat the oven at 180oC.
After your bun dough has risen again, brush with
the egg wash or milk to coat the top and sides well. Place in the oven for
about 12-15 minutes until the bun has properly browned.
Another trick that I use here and which works for
me is that after about 10 minutes I take the sheet out of the oven and coat it
once more with the egg wash and put it back in for a few minutes. This makes my
buns browner.
Once done, take it out of the oven and immediately
rub some butter on it. This will make the buns nice and shiny.
Your smooth, brown and shiny buns are ready to be
devoured.
Making the easy stuffing:
Run all the vegetables in a food processor
separately so they are all well shredded/ grated. Deseed the tomatoes and chop
them finely. Don’t throw away the seeds and pulp, they can be used elsewhere.
 |
| The stuffing |
Heat oil in a wok and fry the onions till they turn
translucent. Add the chillies and ginger garlic paste. Now add the potatoes and
fry for a minute, add the beans and carrots. Add the powders except for cumin.
Cook covered on a low flame without adding water. Once the veggies are done,
add the bell peppers. And finally add the tomatoes. Cook for a minute, add the
cumin and turn off the flame. Garnish with fresh coriander leaves.
Tips:
To ensure you have the right temperature for your
yeast water, do the Water-test. Take lukewarm water in a bowl and dip your
finger in it for a few seconds. It should feel warm. Remember that the yeast is
a living thing, if the water is too hot for your finger it’s too hot for the
yeast.